
As known, the developers preview version of Android 8.0 Oreo is now live and ready for installation on Google Nexus and Pixel devices. Please, as of the time of publishing the article, the codename “Oreo” hasn’t been confirmed as the official naming for the Android O, but we stick to it for now, and this article gets an update once naming is confirmed.

Previously, I published an article revealing most of the functionality unveiled on the Android 0 operating system. However, I also made it clear to you guys that the factory image was made available for Google Nexus and Pixel devices.
Today, I’ll briefly guide you guys on how to install Android 8.0 Oreo on Nexus 5x, Nexus 6p, Nexus player, Pixel C, Pixel XL and the usual Google Pixel devices.
Content Outline
- Acquiring the right tools for flashing
- Enabling developers settings and USB debugging
- Unlocking Bootloader of your Nexus and Pixel device
- Flashing the Android 8.0 Oreo factory image
Procedures for Installing Android 8.0 Oreo on Nexus and Pixel
Just as the content is being outlined, we will need to acquire the right tools for flashing and this is how we can go about it.
2. Scroll down the page and select the “command line tools” for your platform (windows, MAC or Linux) as seen below

3. Download and extract the accompanying file to desktop
Once you’re done with the above procedure, the next step to take is getting your device ready to flash. So, how do we get it ready? This is simply achieved via enabling the developers settings on your device and USB debugging, followed by unlocking the bootloader of your device. The below procedures explains how you can enable developers settings and usb debugging on your device.
1. Go to your app drawer, click on settings
2. Scroll down to About Phone/tablet and tap on it
3. You’ll see Build number, simply tap on it seven times to enable developers settings
4. Now, go back to main settings menu, and then scroll down, you’ll discover the developers option
5. Tap on developers option and enable USB debugging
6. Also enable OEM unlock from developers option as this helps in unlocking bootloader of device
7. You can finally connect your device to the computer and also tap OK once you’re ask to allow USB debugging while connected to the computer.
Once you’re done with the above procedure, the next step is to unlock the bootloader of your Nexus and Pixel device, in other to get your device set for flashing. Follow the below procedure, to unlock the bootloader of your device.
1. Remember, your device must be plugged to your computer, while you turn it off.
2. Next, hold the power button and the volume down button
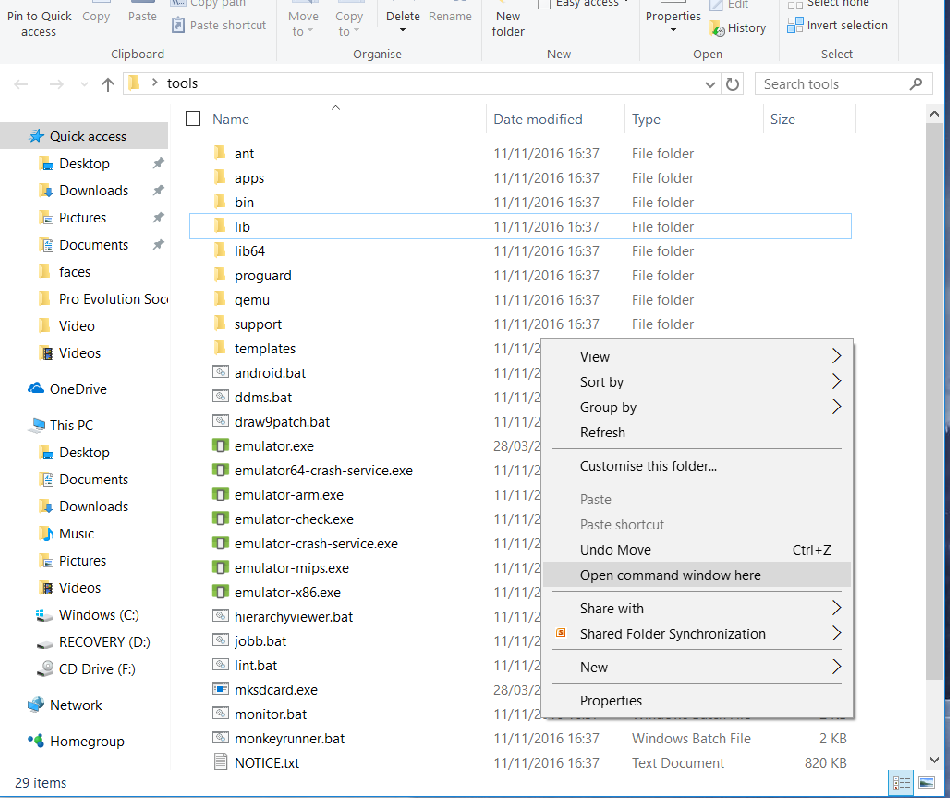
3. After that, locate the command line tool folder you downloaded and moved to your desktop menu, open the folder and “open command windows” (for Windows user) or terminal (for mac users) as seen in the image below. Remember, to open command window, simply click on shift + Right click button on blank area.

4. Once the prompt window is open, simply input the below command
./fastboot flashing unlock
5. After that, press the Volume up and Power button to confirm bootloader unlock, after which you’re to insert the below command
./fastboot reboot
Now the bootloader of your device is unlocked successfully, as you’re device is now set to be flashed. Simply follow the below procedure to flash the Android 8.0 Oreo factory image on your Nexus or Pixel device.
1. Firstly, download the Android 8.0 Oreo factory image via here.
2. Once you’ve downloaded the image file, simply extract the files to your command line tools folder that you downloaded from android studio page.
3. Next, boot your device to bootloader mode (simply hold the power button and the volume down button) and connect the device to your computer.
4. After that, open command windows or terminal on the command line tools folder and input the below command to ensure that your device is being seen by your computer.
./adb devices
5. Finally, type the flash-all command, simply run the below commands depending on your platform.
flash-all.bat(for windows user)
flash-all.sh(for Mac user)
This should flash the factory image to your Nexus or Pixel device and once you boot your device, it would be running on Android 8.0 Oreo operating system. For now, we got the factory image for developers preview, and as said from onset, I’ll continue to update this article with the most recent version of Android 8.0 Oreo factory image. Please, do endeavour to share this article; the share button below can serve.
CareerGiGo is an online publication created for Immigrants in search of better life abroad. It's also an >> Information hub for Immigrants, study abroad, visa guide and job offers. They focus more on helping Asians and Africans who wish to travel abroad, study and also work there.
How to Download and Install Android 8.0 Oreo on Nexus or Pixel Devices
4/
5
Oleh
Anyikwa chinonso